Deploy Dynamics CRM Solutions using VSTS and Octopus Deploy - Part 3 - Release and Deployment
25 Apr 2017 | Octopus Deploy | Dynamics CRM | Dynamics CRM Online | generator-nullfactory-xrm | Visual Studio Team Services | ALM | Git
In this third and final installment I cover the steps involved in setting up the minimum release and deployment steps required for a successful Dynamics CRM/365 deployment. The steps and actions performed in the previous posts acts as prerequisites for this one.
Related posts from the series:
- Deploy Dynamics CRM Solutions using VSTS and Octopus Deploy - Part 1 - Setup
- Deploy Dynamics CRM Solutions using VSTS and Octopus Deploy - Part 2 - Build
- Deploy Dynamics CRM Solutions using VSTS and Octopus Deploy - Part 3 - Release and Deployment
The Packages
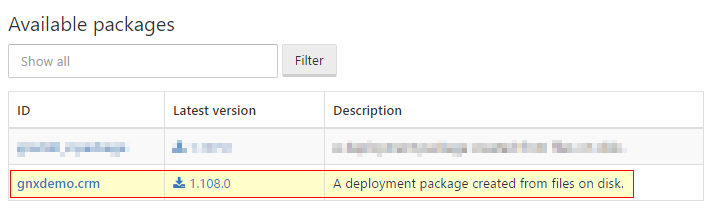
In the previous post, I setup the team build to automatically publish packages into the Octopus Deploy package repository.
We can verify that they have indeed been published by navigating to the Library > Packages tab for a list of available packages.
Defining the Environment
Environments are a logical grouping of targets / machines used by deployments. For the purpose of this post, I will create one environment - Testing and it would contain a single CRM deployment target - the CRM Server).
- Let's start off by clicking on the
Environmentsfrom the main menu to navigate to the environment configuration page. - Click on
Add environmentin the resulting page. Set
Testingas the name of the environment .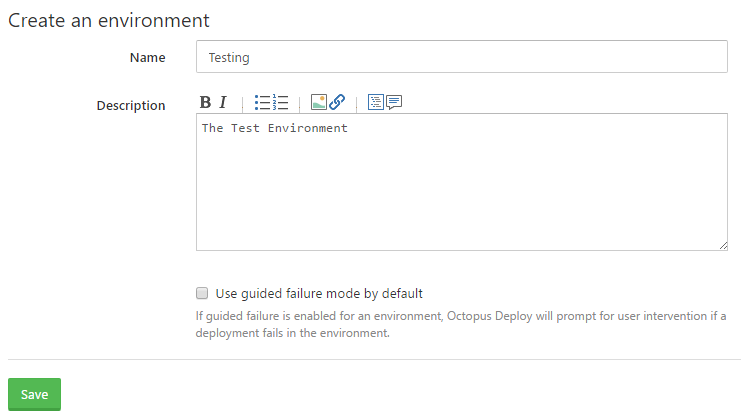
- Click on
Saveto confirm selection.
Next, define the deployment target for this environment:
- Navigate to the Environments summary page and click the
Add deployment targetbutton. Select
Cloud Regionas the deployment target.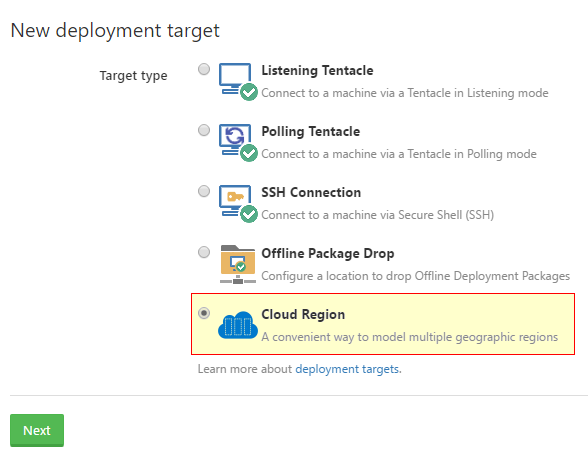
Set
Test CRM Serveras theDisplay name.- Select the previously created
Testingas one of theEnvironments. Create a new role called
crm instance.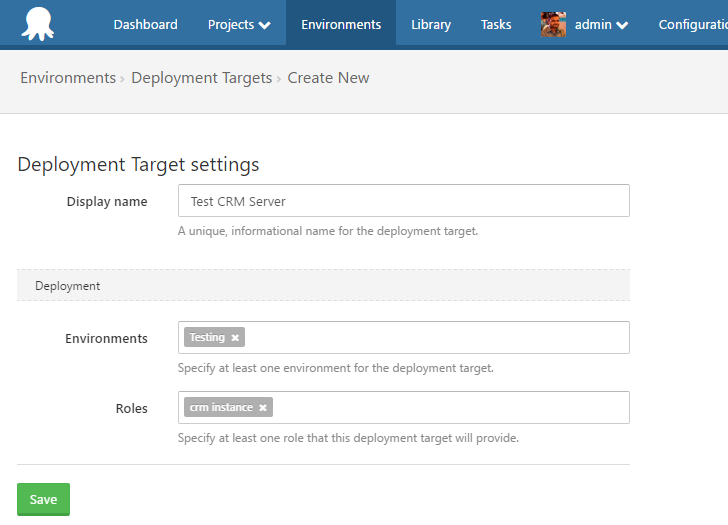
Click on
Savebutton to confirm.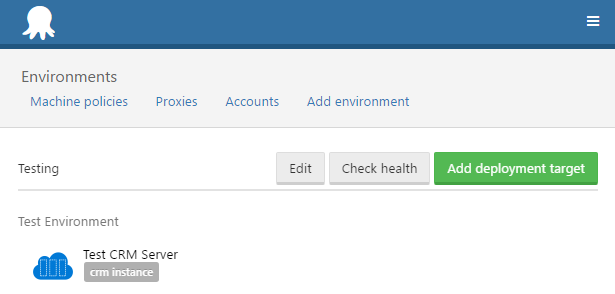
Variable Sets
I will be creating a variable set to host all settings required to connect to the CRM Server. It makes configuration easier and also provides us with the ability to reuse the same server in multiple projects.
- From the main menu navigate to
Library > Variable Sets Click on
Add variable set
Define three new variables:
#{TestCRM-servername}: The CRM Server Url.#{TestCRM-username}: The deployment username.#{TestCRM-password}: The deployment password. On this one, set thevariable typeasSensitive.
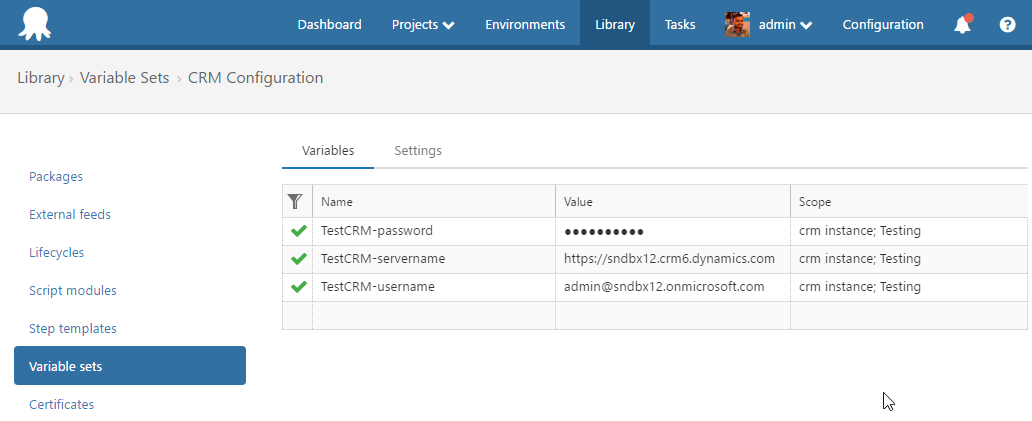
Click the
Savebutton.
Define the Project
Projects allow to define a proper release lifecyle by bringing together the different environments and deployment steps.
Let's define a new project:
- Navigate to
Projectsmenu. - Click on the
Add project. - Provide a name and description. Leave the other options to default.
Click on
Saveto confirm selection.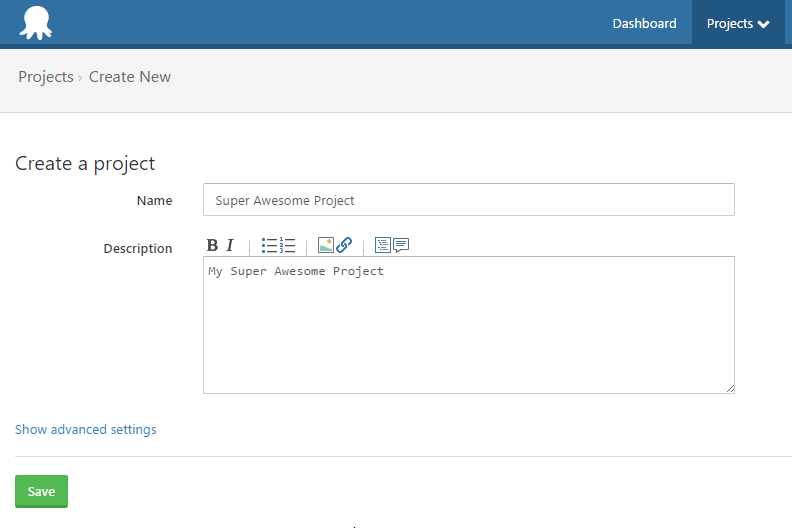
Now associate our previously created variable set as part of our project:
- Navigate to the
Variable > Library Variable Setstab within the project. - Click the
Include variable sets from the Librarybutton. Choose the previously created variable set.
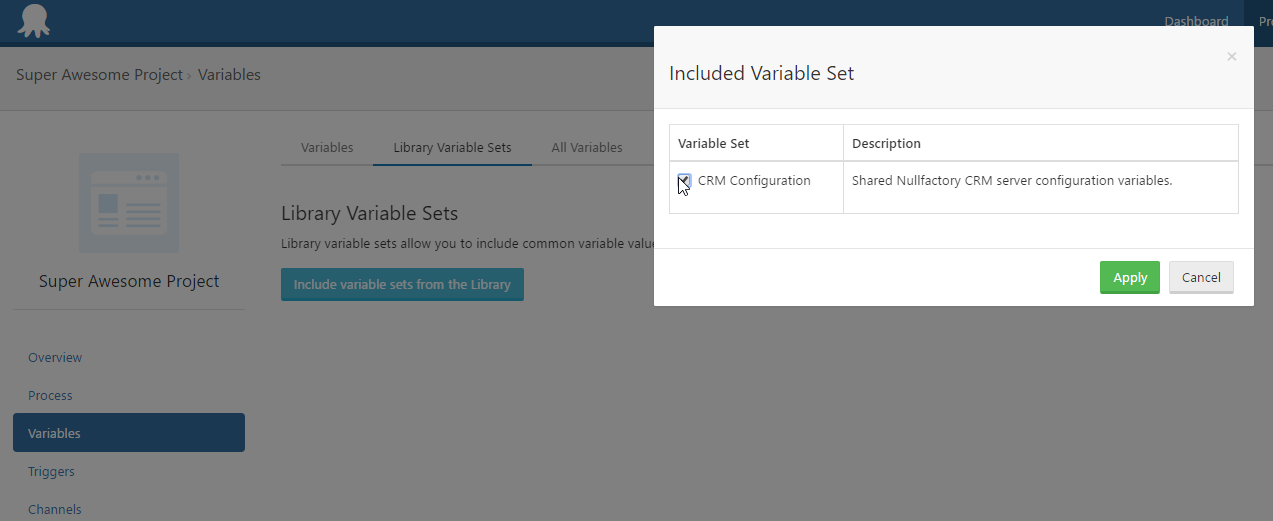
Click the
Applyand thenSavebuttons to confirm selection.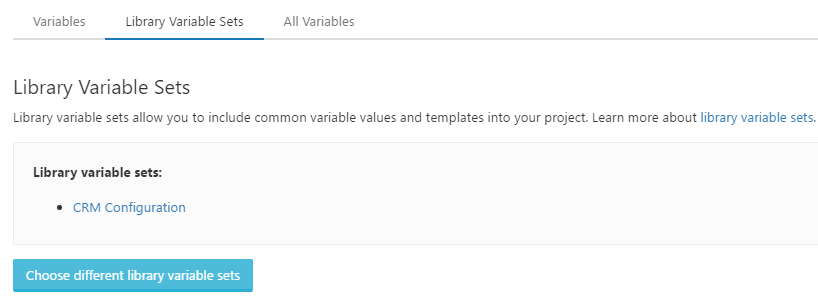
Setup the Deployment Process
The deployment steps are pretty simple and consists of two PowerShell scripts; the first one is an inline script that sets up the prerequisites while the second one does the actual deployment.
Prerequisite script
- Navigate to the
Processtab within the project. - Click on
Add your first step Select a
Run a Scripttemplate.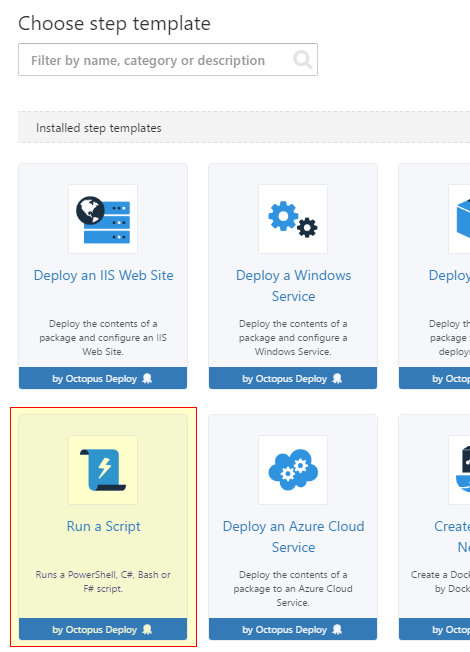
Update the following parameters while accepting the default selections for the others:
Step name:Setup PrerequisitesRun on:Deployment targetsRuns on targets in roles:crm instanceScript source:Source codeScript:Powershell
Provide the following for the body of the script:
Install-PackageProvider -Name NuGet -MinimumVersion 2.8.5.201 -Force -Scope CurrentUser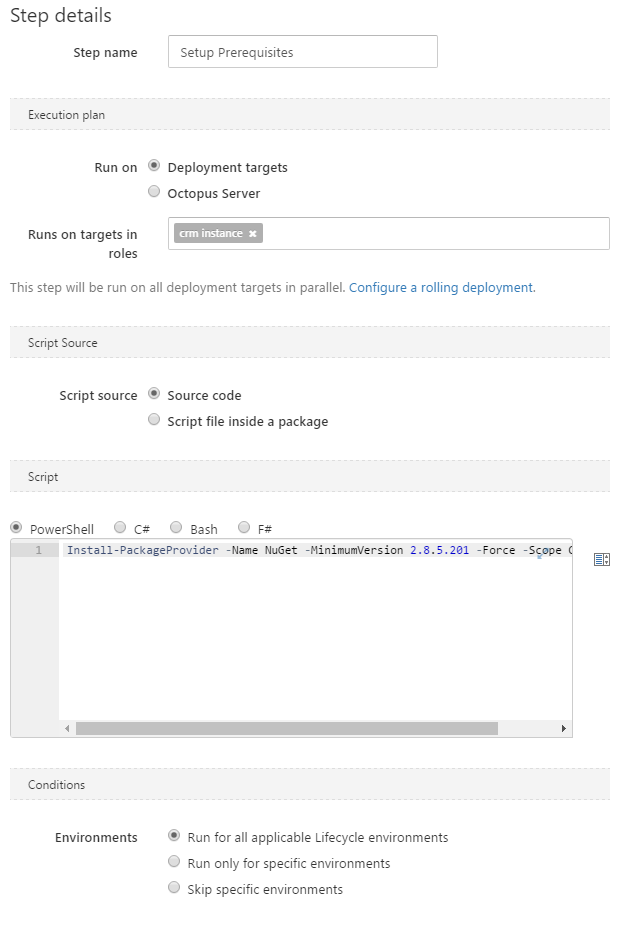
Click
Saveto apply changes.
Deployment Script
The steps are very similar to the previous one, but this time we want to execute a script that is already part of the package.
- Once again,click on
Add stepand select aRun a Scripttemplate: Update the following parameters while accepting the default selections for the others:
Step name:Deploy CRM SolutionRun on:Deployment targetsRuns on targets in roles:crm instanceScript source:Script file inside a package
Keep the
Package FeedonOctopus Server (built-in)as we've already published our package into OD.- Set
Package IDtognxdemo.crm. This is the name that the build published. Set the
Script file namevalue to:Nullfactory.Xrm.Tooling\Scripts\Deploy-CrmSolution.ps1Set the
Script parametersvalue to by integrating the variables that we created earlier:-serverUrl "#{TestCRM-servername}" -username "#{TestCRM-username}" -password "#{TestCRM-password}" -solutionName "gnxdemo.crm" -publishChanges -activatePlugins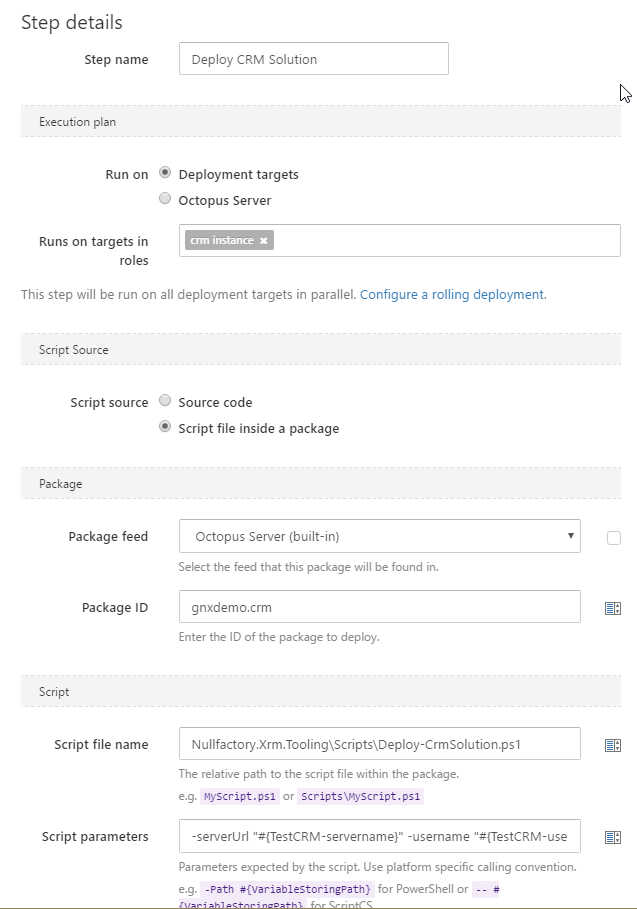
Click the
Savebutton.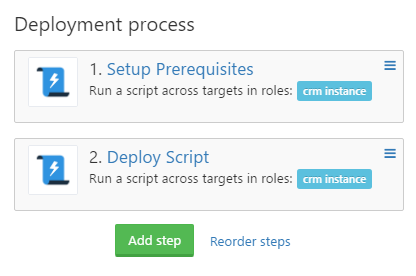
Release and Deployment
Now that we have everything setup let's create a new release and then deploy the same to the Testing environment.
- Navigate to the Project page.
- Click on the
Create Release. - Provide a version number for the new release. I gave it
0.0.1. - Ensure that the
Deploy CRM Solutionstep is referencing the latest version of the solution. - Click on the
Savebutton the confirm the release. The release page shows an overview of the release including the its lifecyle path and as well as the packages being deployed. - Click on the
Deploy to Testingin order to deploy the solution to the testing environment. Click the
Deploy nowbutton in the resulting page to kick off the deployment.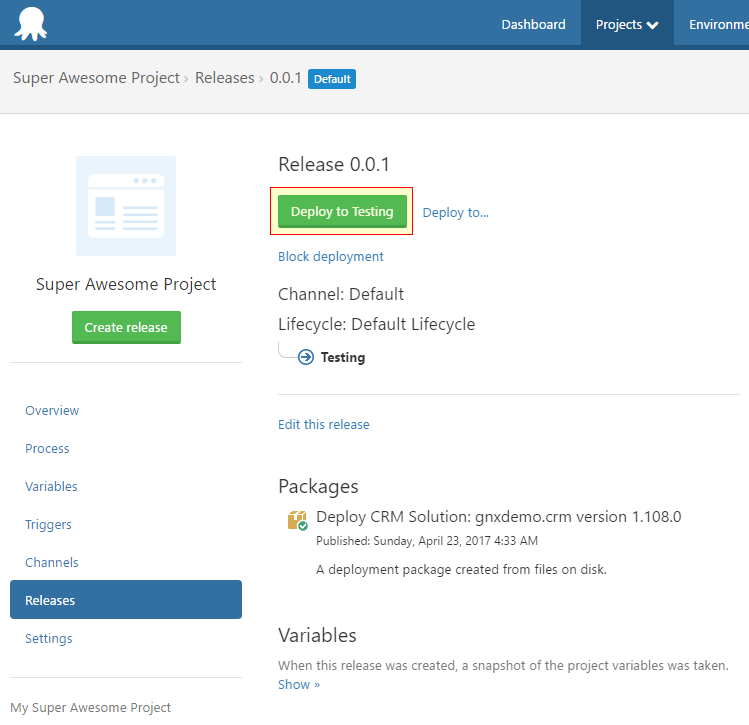
The page would redirect to a summary page showing the progress of the deployment.
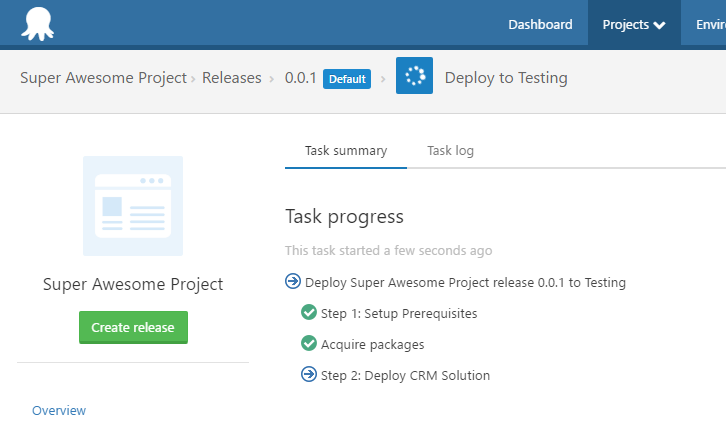
Click on the
Task Logto view a more verbose view of the solution being deployed.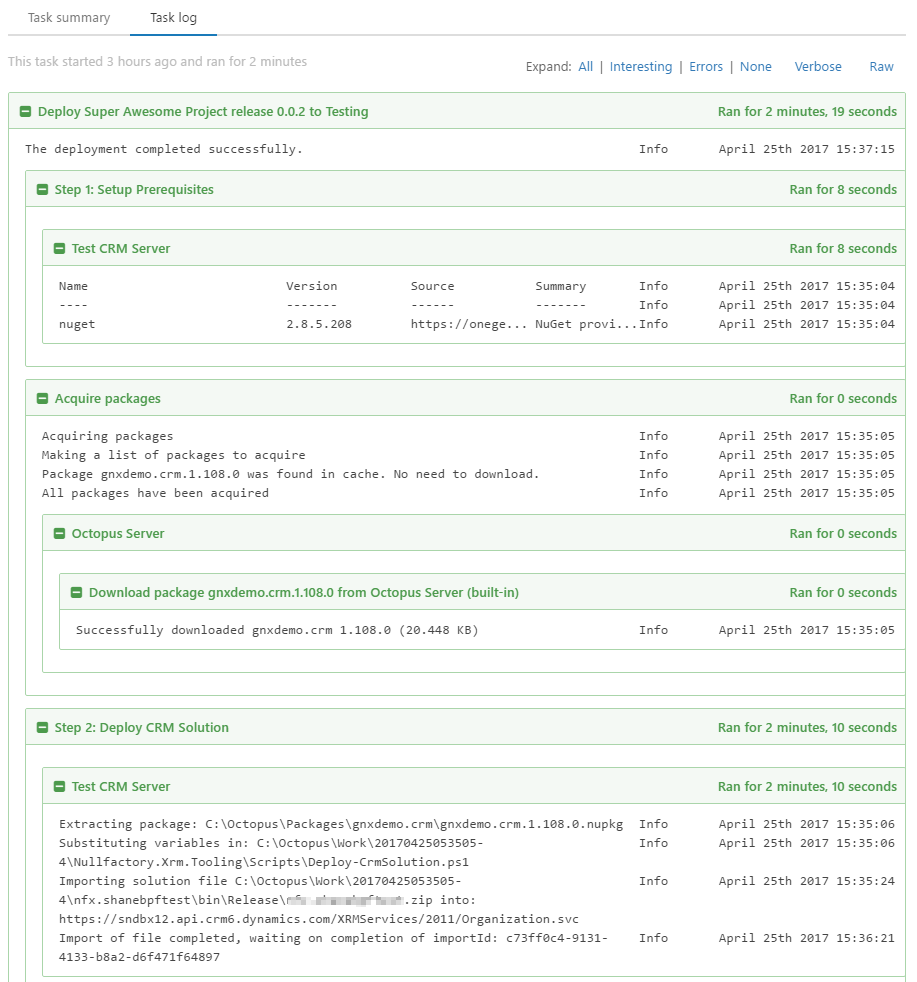
Final Thoughts
While I think I have barely scratched the surface of the features provided by Octopus Deploy, the process of writing this series of posts made me appreciate the intuitive structure of key concepts as well as the myriad of options available to support even the most complex of release life cycles. This series also gave me the opportunity to validate the flexibility of the project structure generated using the generator-nullfactory-xrm - with its ability to work with different DevOps tools.
References
- Environments - Octopus Deploy
- Projects - Octopus Deploy
- Machine Roles - Octopus Deploy
- Deployment targets - Octopus Deploy
- Azure Cloud Service Deployment Targets - Octopus Deploy